Android - ConstraintLayout 基本介紹
ConstraintLayout為一個Support Library, 從Android 2.3 (API level 9)開始支援.
之前的版面設計, 大多數的畫面只要用LinearLayout或RelativeLayout就能夠實作.
缺點是Layout層級太多, 造成設計更動上的困難, 且也較耗資源.
要解決此缺點, 必須將Layout平面化, 因此推出了ConstraintLayout元件來達成此目的.(類似於iOS的AutoLayout)
在編寫畫面時, 一般都是利用XML代碼完成, 在AndroidStudio 2.2中已支持可視化的方式來編寫ConstraintLayout可讓使用者可以更直覺地設計界面.
在開始之前, 需要在build.gradle文件中添加函式庫
1 | dependencies { |
ConstraintLayout和RelativeLayout類似, 元件必須和某一個元件相對.
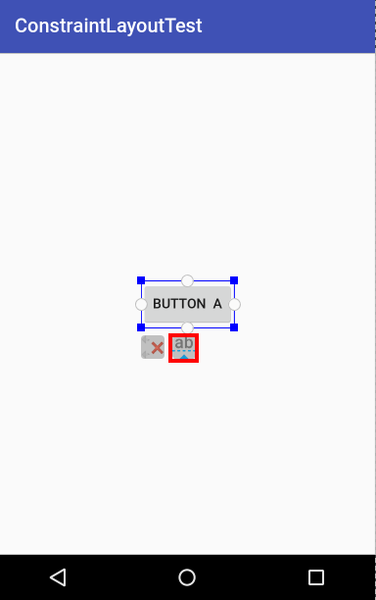
若我們將一個畫面拉到編輯畫面中, 如下圖

在角落會有四個藍色方框, 可用來調整元件大小
而四個白色圓點, 則是用來對齊某元件的.
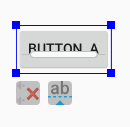
若按下紅框部份, 會顯示內容的baseline, 如下圖

可利用白色橢圓長條的部份來坐Baseline的對齊方式.
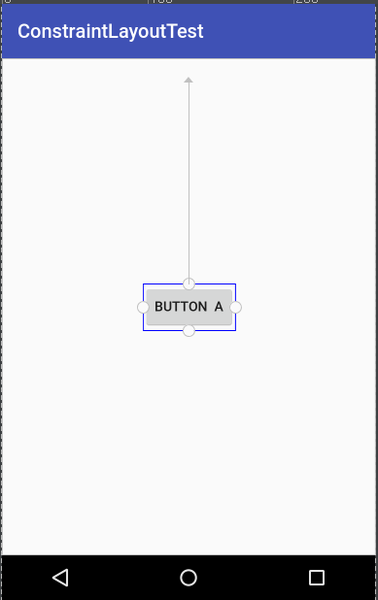
假設我們要使得物件位於中央時, 我們可拉動四個白色圓點, 分別拉到畫面的Top, Bottom, Left, Right

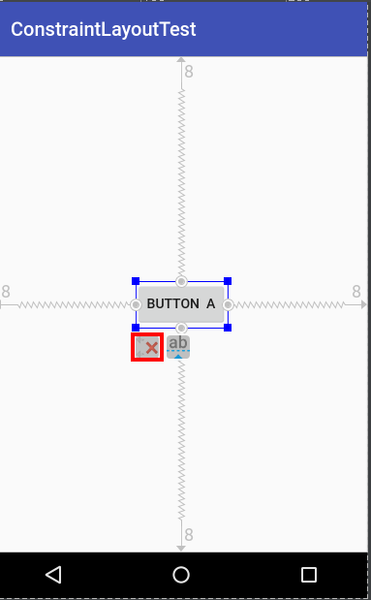
置中結果
按下上圖中的紅框按鈕, 可將所有對齊條件清除
我們來看一下 xml 的寫法為
1 | <Button |
layout_constraintLeft_toLeftOf : 元件的左邊界和parent的左邊界對齊
layout_constraintRight_toRightOf: 元件的右邊界和parent的右邊界對齊
layout_constraintTop_toTopOf: 元件的上邊界和parent的上邊界對齊
layout_constraintBottom_toBottomOf: 元件的下邊界和parent的下邊界對齊
以上為ConstraintLayout的基本介紹
Android - ConstraintLayout 基本介紹
https://nickcarter9.github.io/2017/04/25/2017/2017_04_25_android_constraintlayout/