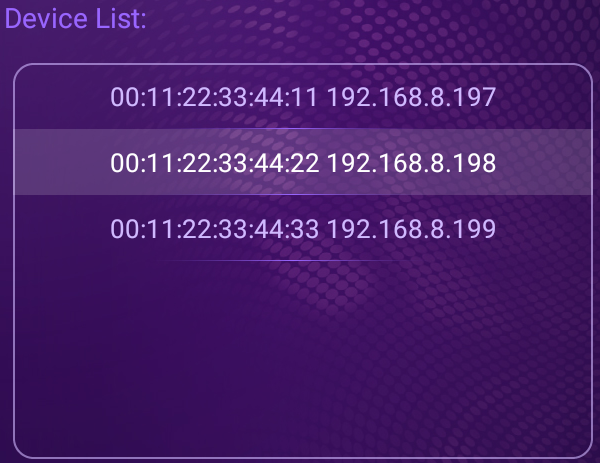
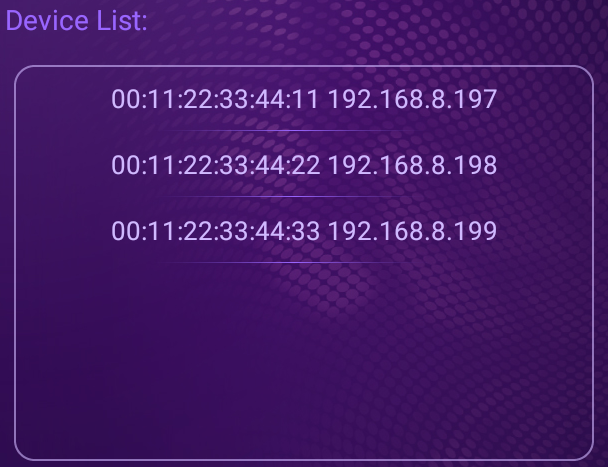
當使用RecyclerView,針對點擊項目後,要將背景Highlight,可依照以下步驟實現此功能。

Step 1: 建立項目內容
首先我們先建立項目內容,在此我們使用一個RelativeLayout及TextView,之後選取項目時,更改RelativeLayout背景,達到Highlight功能。
layout_item.xml1
2
3
4
5
6
7
8
9
10
11
12
13
14
15
| <?xml version="1.0" encoding="utf-8"?>
<RelativeLayout xmlns:android="http://schemas.android.com/apk/res/android"
xmlns:app="http://schemas.android.com/apk/res-auto"
android:layout_width="580dp"
android:layout_height="66dp">
<TextView
android:id="@+id/tx_device"
android:layout_width="398dp"
android:layout_height="64dp"
android:layout_centerInParent="true"
android:textSize="26sp"
android:textColor="@color/color_media_check"
android:gravity="center"
/>
</RelativeLayout>
|
Step 2: 建立ViewHolder
其中mRootView指的是剛剛所建立的RelativeLayout
1
2
3
4
5
6
7
8
9
| class ItemViewHolder(view: View): RecyclerView.ViewHolder(view) {
val mRootView: View
val mDevice: TextView
init {
mRootView = view
mDevice = view.findViewById(R.id.tx_device)
}
}
|
Step 3: 建立Adapter
1
2
3
4
5
6
| class ItemRecyclerViewAdapter() : RecyclerView.Adapter<ItemViewHolder>(){
override fun onCreateViewHolder(parent: ViewGroup, pos: Int): MediaItemViewHolder {
val itemView = LayoutInflater.from(parent.context).inflate(R.layout.layout_item, parent, false)
return MediaItemViewHolder(itemView)
}
}
|
Step 4: 更換Highlight背景
設定RelativeLayout的Click Event,當點擊時將選取到的項目position保存下來,並更新畫面(this.notifyDataSetChanged())。
當項目position等於剛剛所保存的position時,更新背景圖案
1
2
3
4
5
6
7
8
9
10
11
12
13
14
15
16
| class ItemRecyclerViewAdapter() : RecyclerView.Adapter<ItemViewHolder>(){
private var mSelectedPos = -1
override fun onBindViewHolder(holder: MediaItemViewHolder, pos: Int) {
holder.mRootView.setOnClickListener(View.OnClickListener { v: View ->
mSelectedPos = pos
this.notifyDataSetChanged()
})
if (pos == mSelectedPos) {
holder.mRootView.setBackgroundResource(R.drawable.list_select_hover_bg)
} else {
holder.mRootView.background = null
}
}
}
|
執行結果
未選取時

選取效果


